Setting Up and Using Privileged Identity Management (PIM)
As part of Microsoft Entra P2 (included in Microsoft 365 E5), you get access to Privileged Identity Management (PIM). When learning about PIM in depth for my ms-102, I made a blog about it here.
Lab Scenario
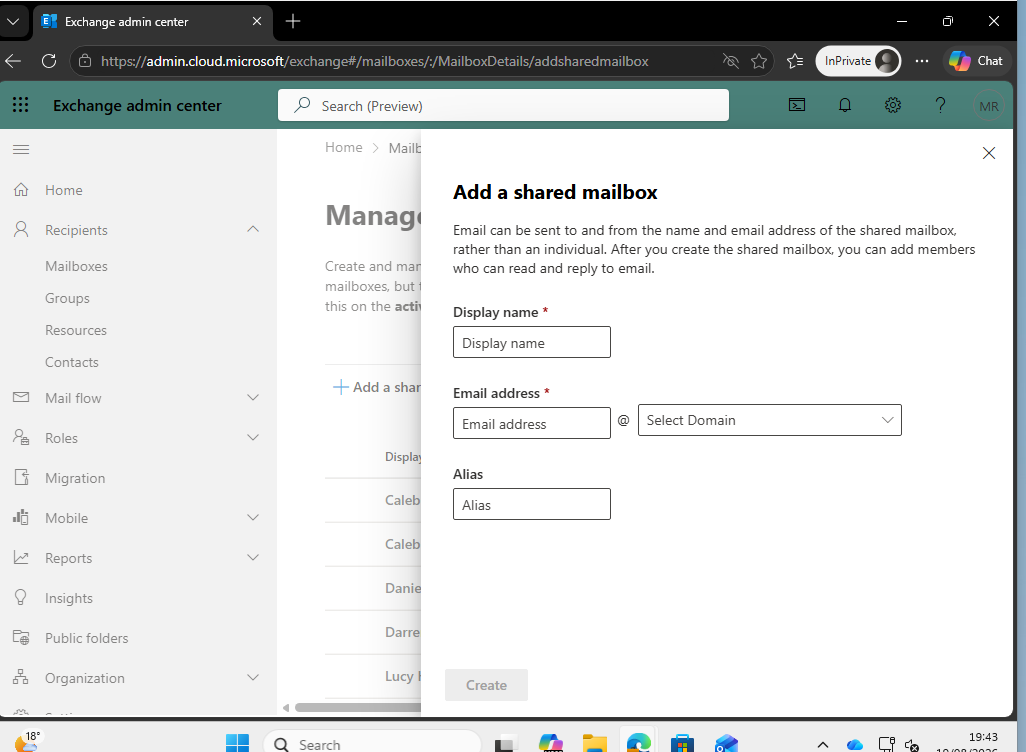
As part of my preparation for my exam next month, I will be doing a PIM lab. In this scenario, I will be pretending that Ryan has gone on holiday for a week but was due to create 20 shared mailboxes on the Tuesday. Therefore, Mia, our helpdesk administrator, will need access to the Exchange Admin Center when she finds time to create these new mailboxes.
Role Assignment Process
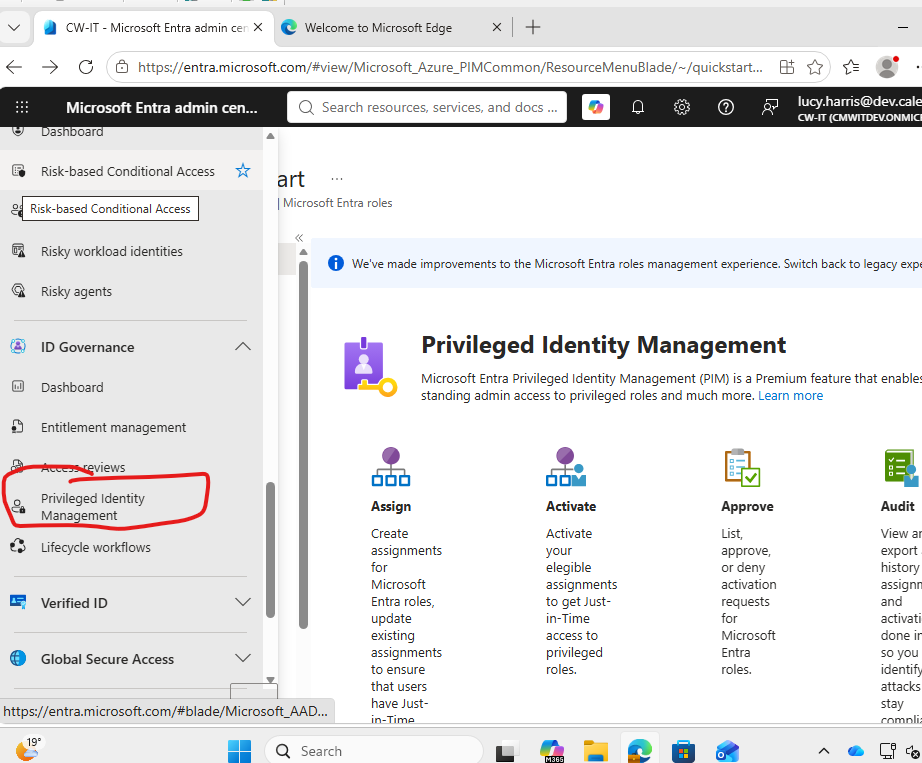
We will be using Lucy Harris’s account, who is assigned the Privileged Role Administrator. Once logged in to the Entra Admin Portal, I navigated to Id Governance and selected Privileged Identity Management. Then, I selected Roles under manage.
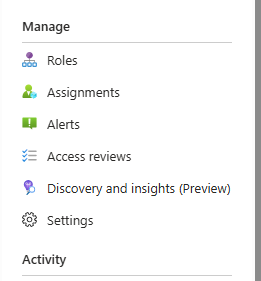
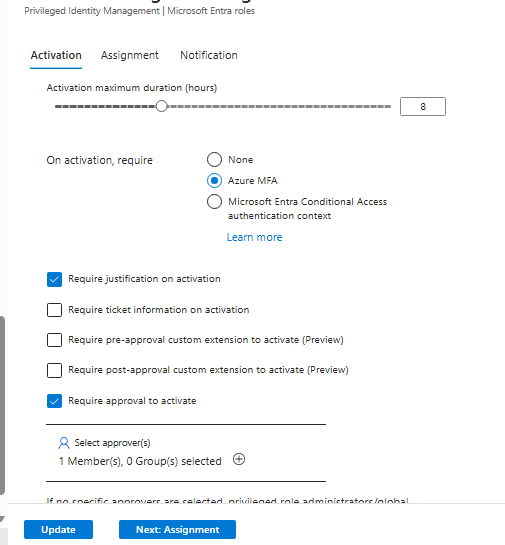
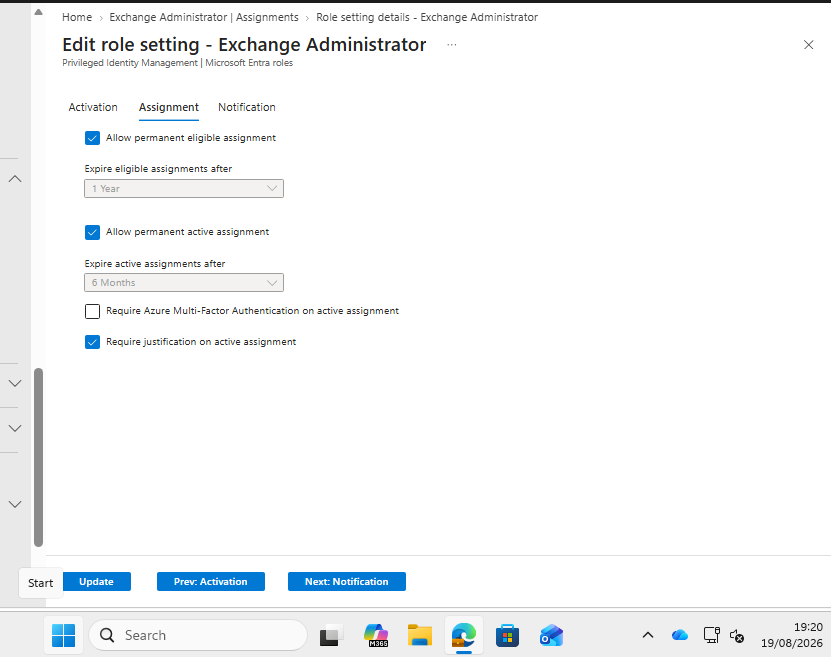
I then searched for the Exchange Online Administrator role. I wanted to change some of the role settings first by clicking Settings. Because Mia’s computer is easily accessible, I wanted to ensure that MFA is required when activating the role. We can also make the assignment expire automatically after a set time if desired.
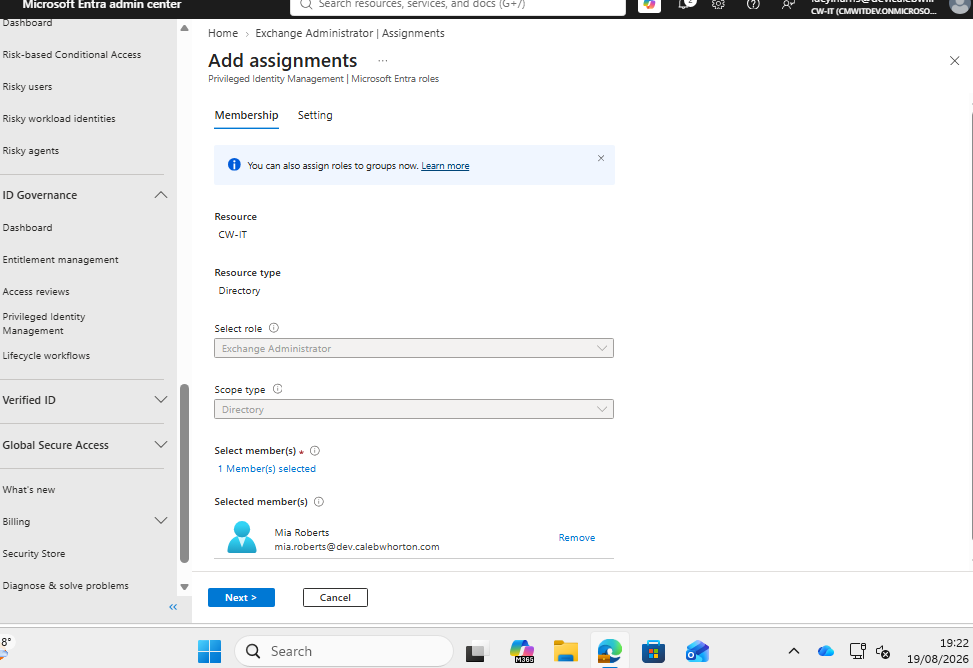
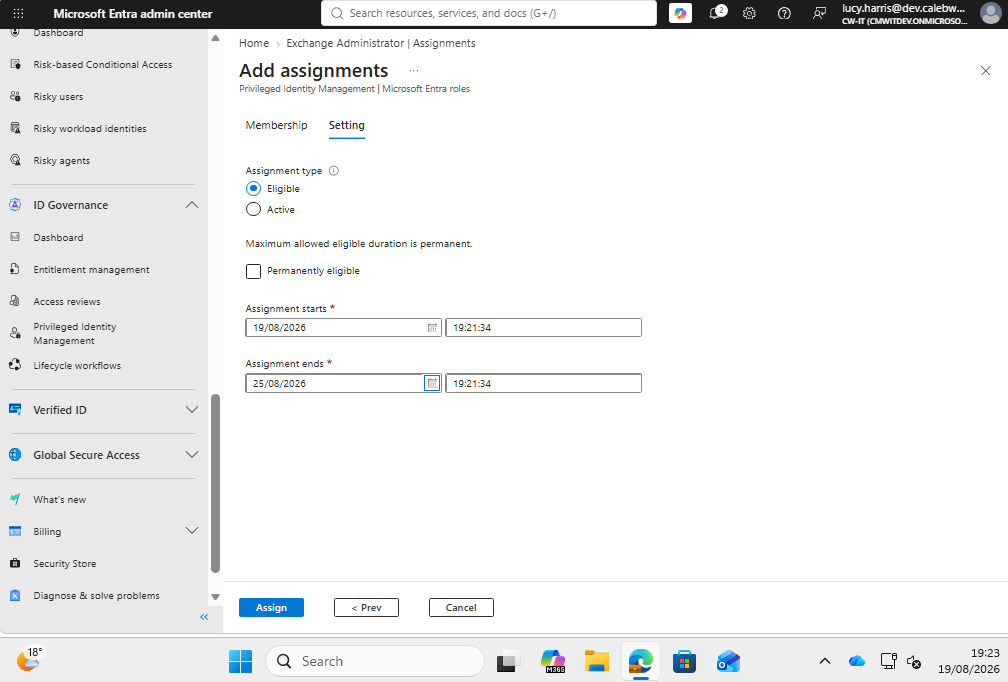
I then selected Add Assignment and added Mia Roberts to the assignment. I made Mia eligible for the role as she will not be using it every day and selected the week that Ryan is away.
Approval Process
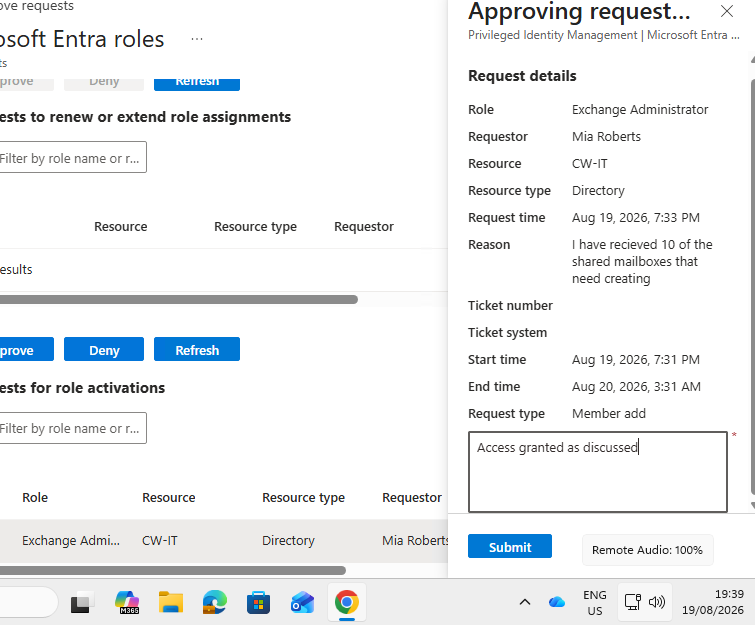
On Lucy’s account, I navigated to Privileged Identity Management and clicked Approve requests on the left-hand side. I selected approve and it showed Mia’s full request. I gave a reason and submitted the request approval. As soon as I logged in to Mia’s account and went to the Exchange Admin Center, I was immediately prompted to enter MFA.
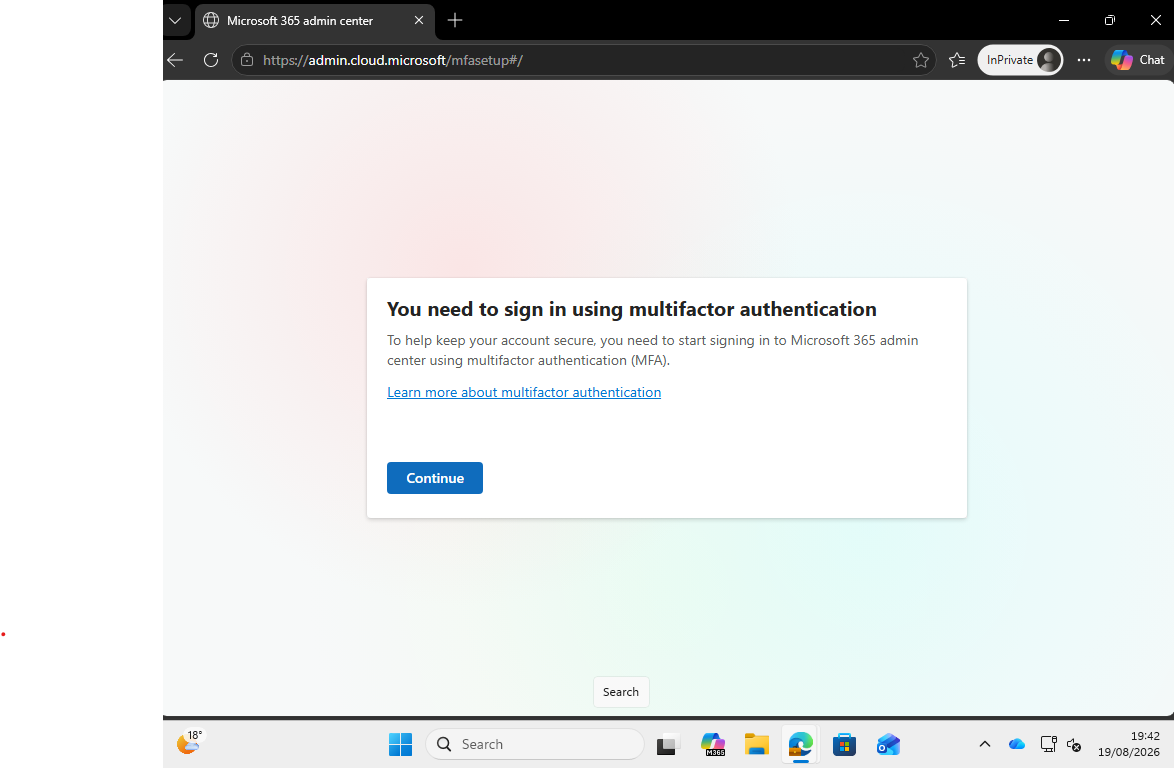
Now, Mia Roberts can add the shared mailboxes as required.