Microsoft PIM (Privileged Identity Management): What It Is and Why Use It?
Microsoft PIM provides users at organizations with roles within your tenant that you have control over. It requires an Entra P2 license.
Example Use Case
If Tim in 1st line is going on holiday but needs Lucy on the help desk to create some new users, Tim can use PIM to assign Lucy the user administrator role temporarily. Tim can set the role to expire upon his return.
Role Assignment Types
- Eligible - Makes the user eligible for the role, requiring them to request approval
- Active - Enables the role immediately
- Expiration date - Sets when the assignment ends
- Permanent - Allows ongoing access to the role
Best Practices
Using PIM, it's important to follow the rule of least privilege and implement just-in-time access.
Example Workflow Using PIM
Step 1: Navigate to Entra
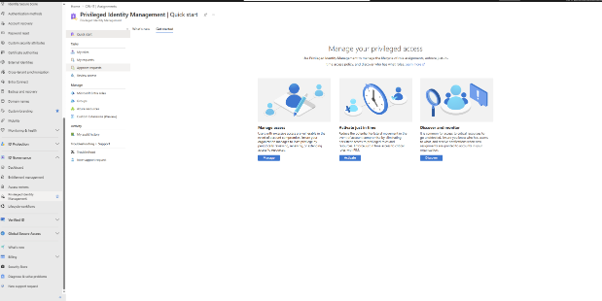
Go to entra.microsoft.com and navigate to ID Governance > Privileged Identity Management.
Step 2: Assign Roles
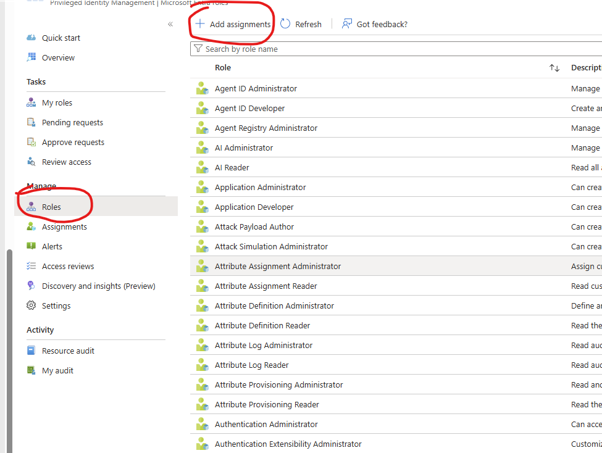
Select "Manage Access" > "Roles" > "Add Assignments". For this case, we're using the 'User Administrator' role.
Step 3: Set Assignment Type
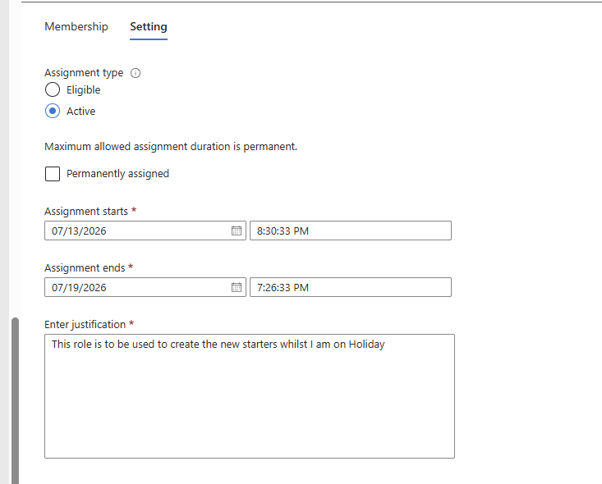
Choose between "Eligible" or "Active". For this scenario, we'll use "Active" with a date range set during the holiday period.
Step 4: Enable Approval Process
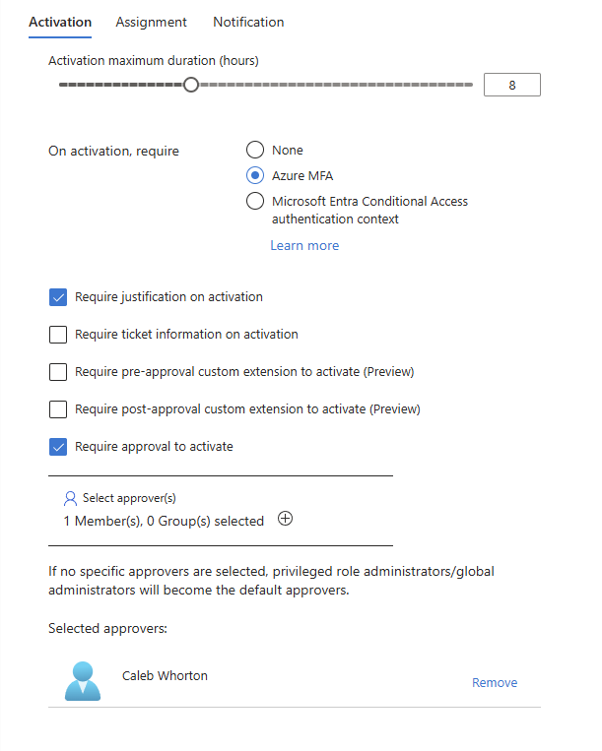
In the role settings, enable "Require approval to active" and add approvers. Adjust maximum allowed time (8 hours) and require MFA.
Step 5: User Access Request
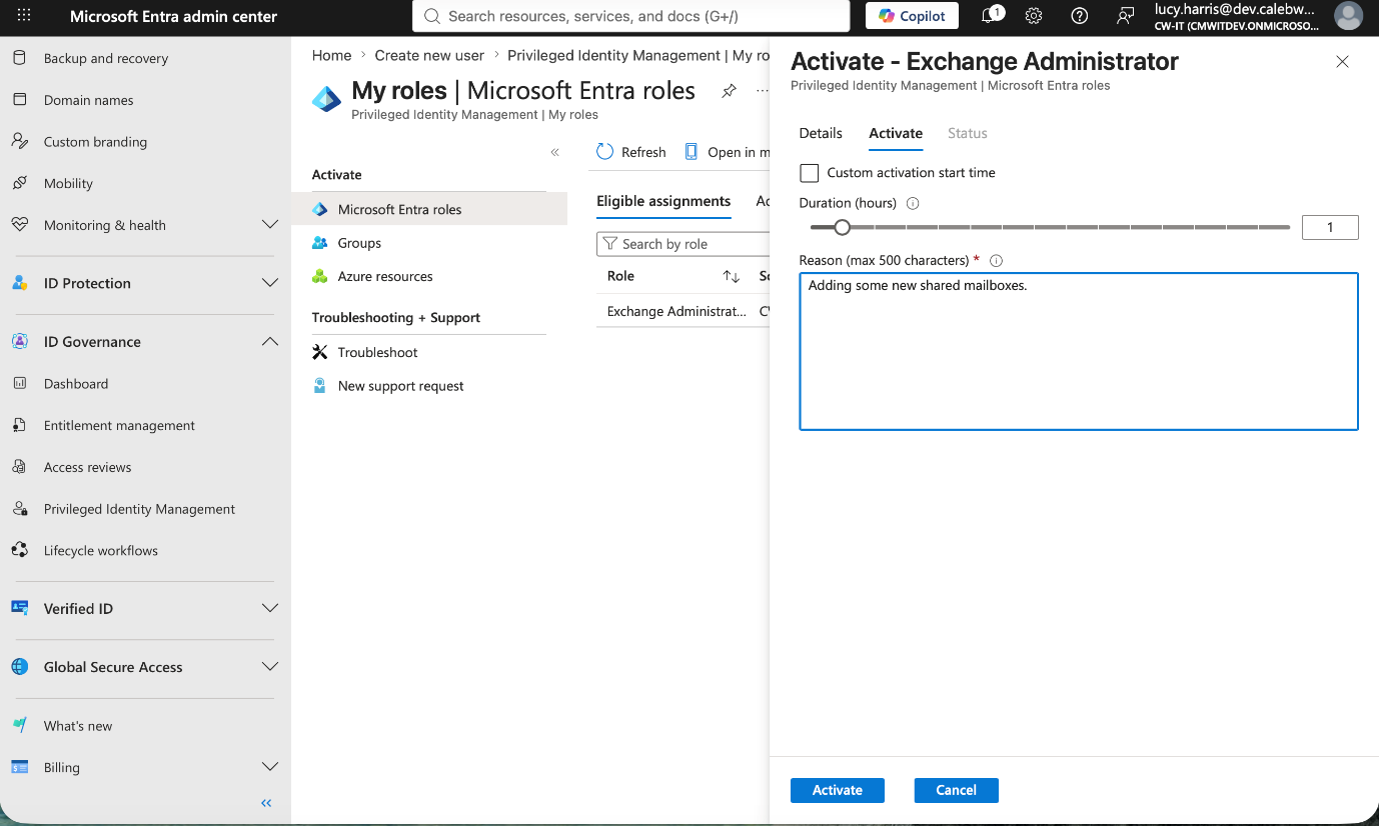
When Lucy requests access, she will see her eligibility and activate the role for a specific time period with justification.
Step 6: Approver Actions
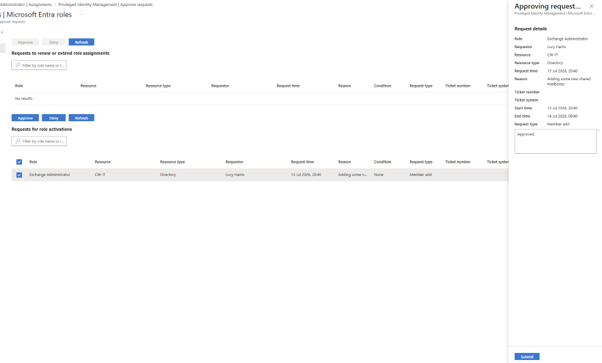
Caleb logs in and approves Lucy's request with justification, allowing her access to the Exchange Admin Center.
Step 7: Access Granted
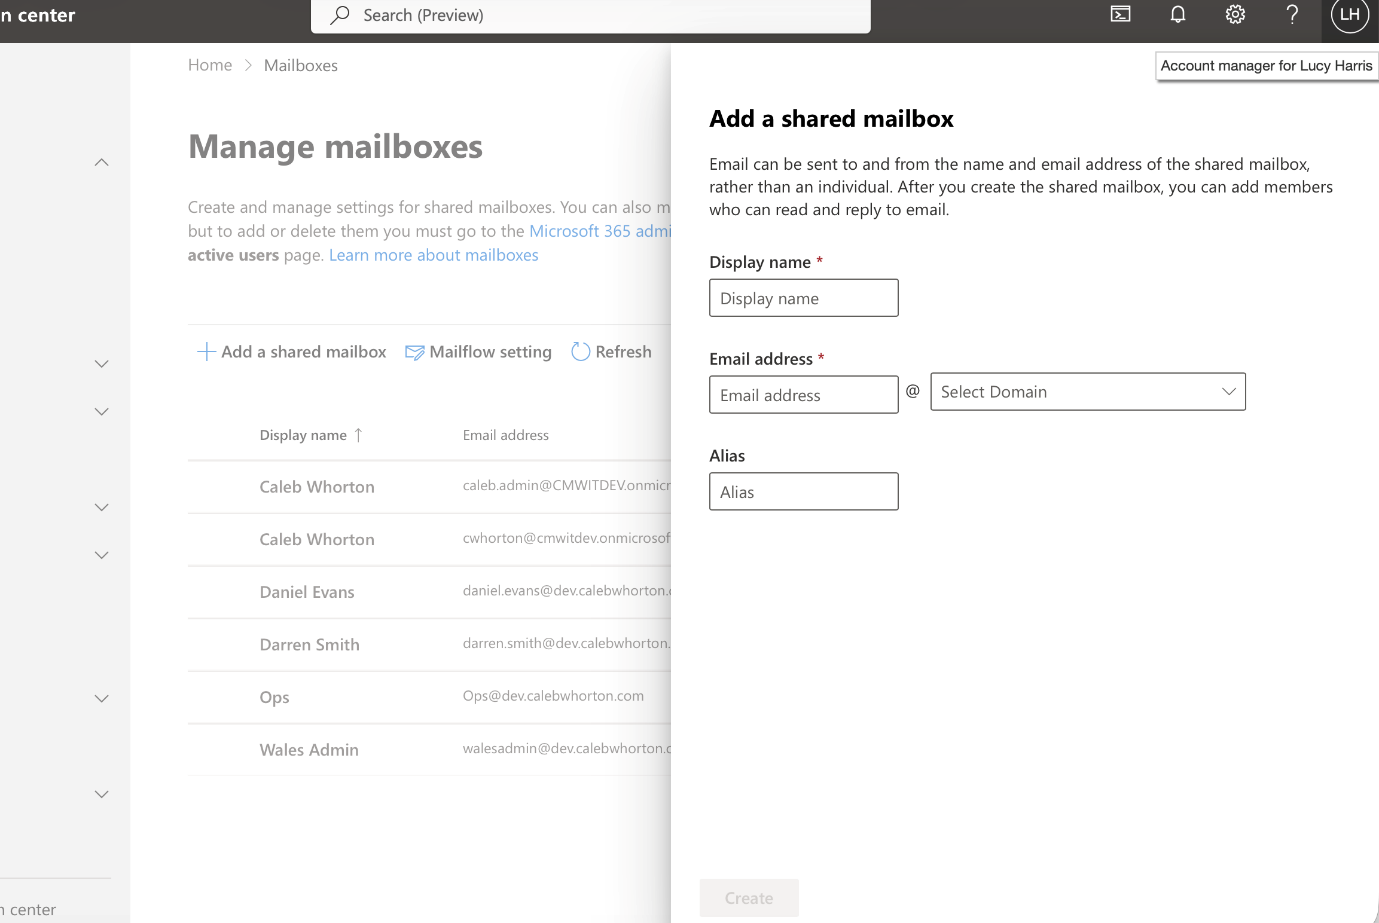
Lucy can now access the Exchange Admin Center and perform tasks like adding shared mailboxes.